Saturday, April 14, 2012

Renos Aren't Pretty.

It's been awhile since I posted any updates on the renos around the Little Shack, so I thought I'd spend some time to day bringing you up to speed.  You may have seen my post about the craft room where I was getting stuck into getting it cleared out so we could begin dismantling that roughed in room and begin the basement renos.  I managed to get all of that junque out of there, with tons of it going to the Salvation Army store (crafters would have had a hay day!) and stored the stuff I wanted to keep in my bedroom.  I never thought I'd be thankful for this odd shelf in our bedroom.  The previous owners built the Shack without stairs to the unfinished basement, but decided somewhere later on to put some in.  The stairs were added by taking space out of the master bedroom, creating this awkward shelf thingy above the stairway.  We used some of the space by installing a built in oven and recessing the fridge in the kitchen, which is on the other side of the wall, but are still left with this strange shelf in our bedroom, which is now full of my craft stuff.
Scary, right?
Once the craft room was emptied, we were able to take down the temporary walls we put up when we first moved in and get the space ready to for it's new purpose-Zac's new bedroom!  The first thing after demo-ing was to build the wall over the existing concrete foundation and insulate it.
We also sealed the cement with paint we had leftover from other projects, which explains the lovely colours on the walls.  The problem with this basement is the crap job they did with the cement floor.  It is far from level and has lots of high and low spots.  One of the high ones being the drain in the floor.  Can you say "DUH!"  We want to raise the floor up off the cement for warmth, but having to level the new floor over the old un-level floor has been a pain in the you know what! This has resulted in having to run 2x6es and support them with various thicknesses of wood at various points.
2x6 floor supports and Zac sorting screws for his Dad.
These were all glued to the floor which had to dry, then adding the 2x6es and more gluing and screwing.  We also had to correct some bowing in the 2x6es by wedging 2x4s between the 2x6 and the ceiling as the glue dried.  
          The 2x6es getting wedged down.

 Lots of extra steps in what should have been a basic job of putting down a new floor.  After getting that all done we were able to put the 'chip board' down on top and get it all screwed and glued in place and then gave it a quick coat of paint to seal it. 
The chip board on top of 2x6es.
The brown thing you see in the above picture is the back of a huge cupboard we've been hauling around for the last 3 moves.  It was in a house we bought in Smithers, BC and was such a handy thing we couldn't part with it.  It's been used as a room divider, then as part of a wall we built in the garage of our house in Campbell River to make part of it into another bedroom, and has been my pantry shelves while we've been here at the Shack.  It is now about to be built into the wall between Zac's new bedroom and my new laundry room.  
The shelf side of the shelf.
This will be where I can put sorted laundry and store cleaning products and other items.  What you are looking at here is what will be the hallway into the laundry room. 
Like I said, renos are not pretty, but it sure feels good to be getting them done.  We have begun to dismantle Alley's temporary room now as well, after she very efficiently got all of her things packed up and moved out to the sunroom (a project put on hold until the basement gets done).  This earned her a trip to Campbell River to stay with her Nana!! Or could it be because she doesn't have a room?
We've also relocated the woodstove in the basement to a more central location, and actually got it all hooked up and working again last night.
Needs a good cleaning and a coat of stove black!
The stairway has been opened up on both sides of the landing now.  The original opening will now be the entrance into Zac's new bedroom, and the new opening will enter into an open space where the woodstove is now located and where Alley's bedroom door will be as well as open into the family room.

The landing newly opened up into what was Alley's bedroom.
Here's my rendition of the floor plan for the entire basement.  It might clarify where we're going with this.
It's back to the basement for me now.  My goal for today is to get Zac's room packed up of all non essential toys and misc. items.  We're on a bit of a time limit with this project, as the kids and I will be heading north for my job as camp cook in May and I want to leave hubby with as much of the heavy stuff done.  It would be nice to come home at the end of July to a nice new basement all ready to move in to!


Wednesday, April 11, 2012

Springified!

Little Shack has a new look for spring!  Gone are the snowy pictures of our guest cabin and vista and bring on the flowers, birds and green, green green!!
While we are still 1/2 covered in that old white stuff, I am looking forward to when my garden will be uncovered and I can see my little hardy plants begin to wake up and feel the sunshine!  At the moment those little darlings are still under about 3-4 feet of snow.  I will eventually get impatient and grab a shovel to  dig off the last of the snow!  Happens every year without fail!  My garden is right beside the Shack and gets all the snow from the roof on top of it as well as that which naturally piles up.  It needs a little help.  
In the meantime, I am watching every day as the snow recedes from the hill and am filled with a sense of renewal! Happy Spring!!

Tuesday, April 10, 2012

Yorkshire Beef Puff-recipe


This recipe was one I found in an old church cookbook and have used it many times with great results.  If you have leftover roast beef, or in our case, we eat moose, so it's roast moose...it makes it go a bit further and is delicious!!  Here's the recipe!

You will need 2 C. flour, 1/2 tsp. salt, 2 C. milk....

...4 eggs and cooking oil (the amount will vary).
 As well as about 4 C. of leftover roast beef (or moose!).
First crack the 4 eggs into a bowl and scramble them up with a fork.

Then add the flour, milk and salt.

Beat them all together for about 2 minutes.

Slice the leftover meat into small, thin pieces and....

...spread them over the bottom of a 9"x 15" deep sided pan
 ( I used my glass baking dish).Over this pour enough cooking oil to make a depth of approximately 1/2 an inch.  You can also use the drippings from the roast if you didn't use them to make gravy. 

Now, pour the batter over the whole works.

And it's ready to go into a 400 degree oven for 30 minutes.

On the go.
Done!

Yummy!

You can either use leftover gravy or make a quick mushroom sauce to pour over top.The mushroom sauce is just a can of cream of mushroom soup thinned with a bit of water or milk and heated up.


Saturday, April 7, 2012

Easter Egg Tree

After my MIL forwarded us an email about this amazing man in East Germany who decorates an apple tree in his yard every Easter with not hundreds, but thousands of Easter eggs, I had to find out more and share it here.  The man's name is Volker Kraft and he has been decorating this same tree since 1965! It was just a little tree then and he started with 18 plastic eggs.  It has since grown and with it the number of eggs.  He now decorates the entire yard with help from friends and family.  This year there are 10,000 hand blown and decorated eggs hanging in his yard!!  Amazing!


Tuesday, March 27, 2012

Should I Shut My Computer Off??

I've asked myself this question many times, and tend to believe it is better to shut it off when I'm not using it rather than leave it running endlessly.  My reasoning is mainly because it uses electricity and electricity costs money.  I'm the electricity cop in our house (even though my hubby 'thinks' he is, he is constantly leaving lights on and things running, while telling the kids to shut things off!)  I'm always turning lights off and shutting off the fans that are 'supposed' to help circulate the heat from the wood stove in the basement...Such a waste of money!  Every time I turn something off, I tell myself that the hydro bill will be a bit lower this month.  I like saving money!
So, should I be shutting my laptop down when I'm not using it?
I set out to find out the truth of the matter.

Saving money is a good incentive, but just how much can we save? Well, it will depend on your own PC as to how much you could be saving.  A typical computer uses 300 watts.  If you use your PC for 4 hours a day, and don't shut it down, that would mean your computer is running, wasting electricity for 20 hours each day. Now, let's say electricity is 10 cents per kilowatt-hour.  For the 20 hours your computer is running, but not being used, it costs 60 cents per day. Doesn't sound like a lot, but over the course of a year it adds up to $219!!  
There is the argument that turning your computer on and off, thereby it getting hot and then cooling off, several times a day is hard on it's components. Things like solder joints can supposedly be effected, as can the CPU chip. But...and here's where I was convinced..our tv sets have many of the same components as our computers. Do you leave your tv on 24/7??  I know I don't. 
Computer
With 3 laptops in our house, I know we can save money on the hydro bill just by shutting them down between uses.  I've programmed them all to go into sleep mode after being idle for several minutes.  Also, just closing the lid shuts them down.  You can do this yourself in Windows by going into 'Control Panel'-'System and Security'-'Power Options'- then choosing 'Power Saver' and setting your preferences under 'change plan settings'. On the side bar of the 'Power Saver' page is the option to choose what happens to your PC when you close the lid.  
Well, there are my findings!  Hope you find them informative and useful!  

Saturday, March 24, 2012

Wee Mouse for Taylor.

I had to show off this sweet little mouse and her teeny teddy that I made for my granddaughter, Taylor!  I purchased the pattern from Larissa at the Mmmcrafts blog.  She has an Etsy shop here where she has some really cute patterns for sale, and on her blog you will find some free patterns!  I had so much fun making this little mouse and can't wait to hear how Taylor likes it!  The little mouse and her teddy fit inside a Altoids Mint tin.  The pattern was very easy to follow and had plenty of written and picture directions.  The only snag I ran into was when I cut out the mattress for the mouse's bed, only to discover it was too small for my tin!  Low and behold, Canadian Altoid tins are bigger than American ones!  Who'da thunk!!  It was easy enough to enlarge the mattress and blanket pieces though, and I made the pillow a wee bit bigger too.  I also added wee whiskers to my mouse.  It is so cute!!  I just love it!  Now I'm waiting for some other opportunity to make another one for someone!  Thanks, Larissa, for this sweet pattern!


Note the 50 grams!

Monday, March 19, 2012

Chocolate Wacky Cake-Super Easy!!


After re-introducing the Chocolate Cake in a Mug recipe to my kids, they have been making them for themselves quite often!  That brought to mind another fun cake recipe I used to make regularly, but haven't made for quite some time!  A Wacky Cake!  This is a cake that turns out great and is not too sweet.  It saves on dishes as it is mixed all in the cake pan!  Here's what you need to get it done!


Oil, baking powder, baking soda, flour, sugar, salt, cocoa,
vanilla, vinegar and water. plus a 9 x 13 inch cake pan.


Into the cake pan, (ungreased), put all of the dry ingredients.


Stir is all up with a fork....


...until it looks like this!


Now, make 3 holes or dips in the dry  mixture.


Put one of the 3 wet ingredients into each of the holes.
My oil overflowed it's hole, so I made a new one for the vanilla.


Next, pour the warm water over the whole works.


Stir it up until it is all evenly mixed and there are no lumps of dry stuff anywhere.
Pop it into a 350 F. oven for about 25 minutes. 

It's done when a toothpick poked in the middle comes out clean.


Baked!  I sprinkle chocolate chips over the top and let them soften, then spread them around instead of icing. You can ice this, eat it with whipped topping, ice cream or just all by itself. It's a nice moist cake.


And that's about it...well, except for the eating part. I'm pretty sure you can figure that part out for yourself! 

Here is the recipe:
3 cups flour
2 cups sugar
2 tsp. baking powder
1/2 tsp. salt
2 tsp. baking soda
1/2 cup cocoa
2 tsp. vanilla
2 Tbsp. vinegar
1/2 cup + 2 Tbsp. oil (or melted margarine)
2 cups warm water
chocolate chips (optional)

I'd love to know what you think. Did your family enjoy this cake?  Did you find it as easy to make as I do? Let me know in the comments below and don't forget to 'like' and 'share'!


Thursday, March 15, 2012

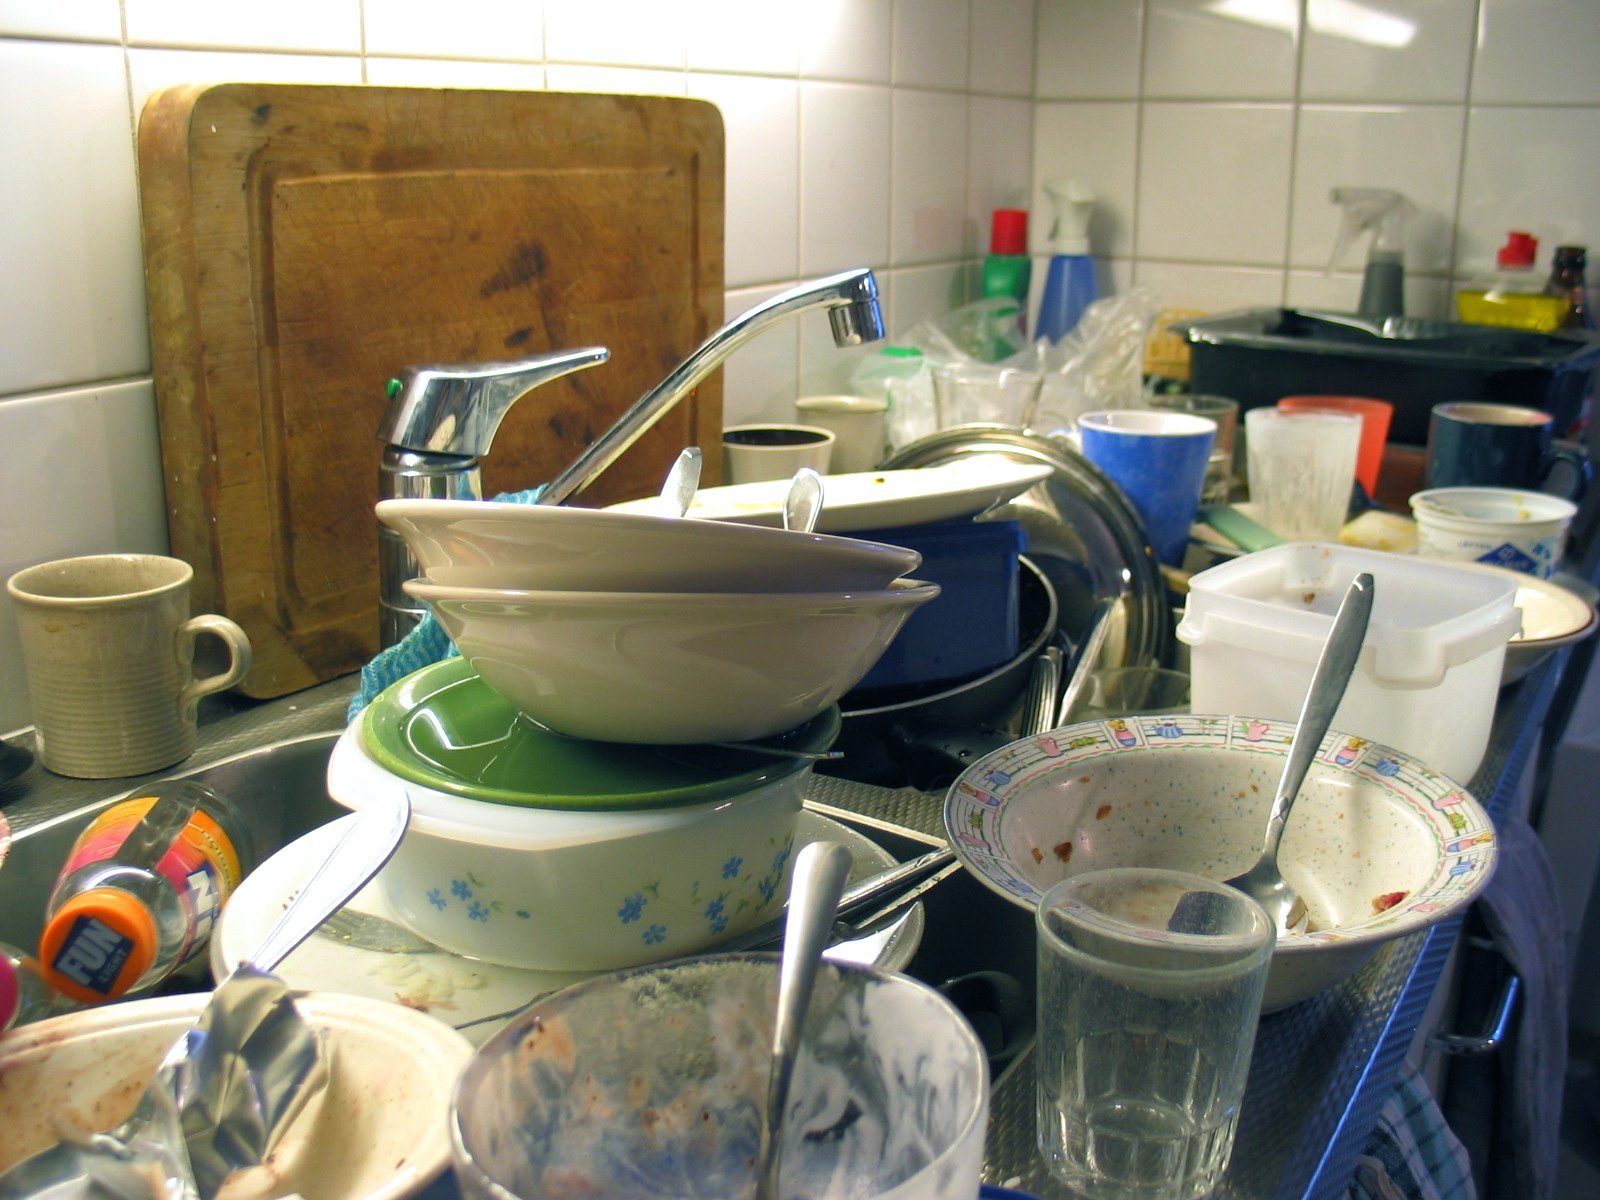
The Death of a Dishwasher

Okay...it's not dead...yet.  But it sure is making a lot of noise!  Each day, the beast is filled with the days dirty dishes, and then, either first thing in the morning, or last thing at night it is set running.  It's never been a great machine.  We bought it at our local Sears catalogue store after we moved into the Shack.  There was a machine in the Mickey Moused kitchen which the previous owners said wasn't much good...but we never expected it to spew water out the sides of the door when we ran it!!  We had wondered why there was a stick in the kitchen!  It was used to wedge between the island and the dishwasher door to keep it closed tight!


So, our first improvement in the Shack had been a new dishwasher.  Of course, not anywhere near the 'top of the line' model.  Not even close!  It was probably the cheapest one they sold.  And like they say -"You get what you pay for".  The dishes have to be rinsed off completely before being loaded in, and there is usually a few that need to be scrubbed and re-washed.  Annoying, yes, but...you learn to deal with these inconveniences.
Now, I'm faced with a choice.  Do I start looking for a new dishwasher, something of a better quality.  Or...and here is the crux of the matter...do I forgo the edict of society and do without one?  
It's not doing the dishes that is a problem for me...it's more having a place to stash them after they are used and before they are washed that I like.  I hate a sink full of dirty dishes cluttering up my kitchen!  It's so nice to be able to rinse them off and stick them in the dishwasher til later.

 
It would also be nice to be able to use the space the dishwasher takes up for another cupboard.  My kitchen is small and having another storage space would be wonderful!  When we installed the new kitchen we chose to use an Ikea one (love it!) and it can easily be added to.  So, I could potentially add big drawers or shelves in the space. 'Sigh'...what to do?
I'm not sure how long I'll have to ponder this dilemma.  The D.W. is really loud!  It's making the most frightful squeals and whirs. But, it's still doing the same substandard job of the dishes.  It could go on like this for some time, or it could pack it in tomorrow.  Who knows?
I guess I'll deal with it when it happens.  Now, what is that noise coming from the laundry room?  Could it be the washing machine is on the slow decline as well?  Do these things always happen in 3s??!!