Friday, March 6, 2015

Super Simple Chicken Enchiladas

Some of you may know that my chosen career, for which I went to school to learn and trained for, was cooking. Not cheffing....I began my chef's apprenticeship and quickly realized it was not the kind of cooking I wanted to do. I have worked as a cook at several times in my life.  I have always preferred to cook in large quantities in camp situations.  Maybe that's why I ended up with 5 kids! And probably why I still find myself cooking too much food now that it is just hubby and kid #5 at home!
In all my years of cooking, both for work and family, I had never, ever made enchiladas. I had eaten them a few times, but never got around to making them. So when I spotted a recipe for Easy Chicken Enchiladas on Pinterest and actually had some cooked chicken on hand to use in them, I decided to give it a whirl in my tiny RV oven.
My hubby had picked up a couple of already cooked chicken breast. (We have since started hoarding these when they go on for 50% off as the due date gets close, and freezing them.) I took the breasts and put them into my slow cooker/crock pot.  I sprinkled on some packaged taco seasoning and some watering then let them cook for a couple of hours. (For anyone else cooking in an RV, I plug my crock pot in outside under the RV awning and let it cook out there.  This helps to keep the moisture outside and not accumulating on the windows of the RV.)
After a couple of hours I checked the chicken and used two forks to start pulling it apart.


Next, I spread the enchilada sauce over the bottom of the pan very lightly. I used a canned sauce the first time I made these, and it was really good, but pricey. The next time I tried a packaged dry sauce mix you only have to add water to to make up. It was much spicier, darker in colour, and way cheaper.


Next came the fun part! Lay out your 10 inch tortillas on a flat surface. Down the centre arrange some of the cooked chicken, sprinkle on some cheese, and then some salsa.


Place the rolled enchilada in the pan on top of the enchilada sauce, seam down.  Carry on with filling and rolling more enchiladas until your pan has a layer of rolled enchiladas covering the bottom.


Now, pour enchilada sauce over the rolled enchiladas. The do not need to be completely covered with sauce. Then sprinkle grated cheese over top of the sauce.


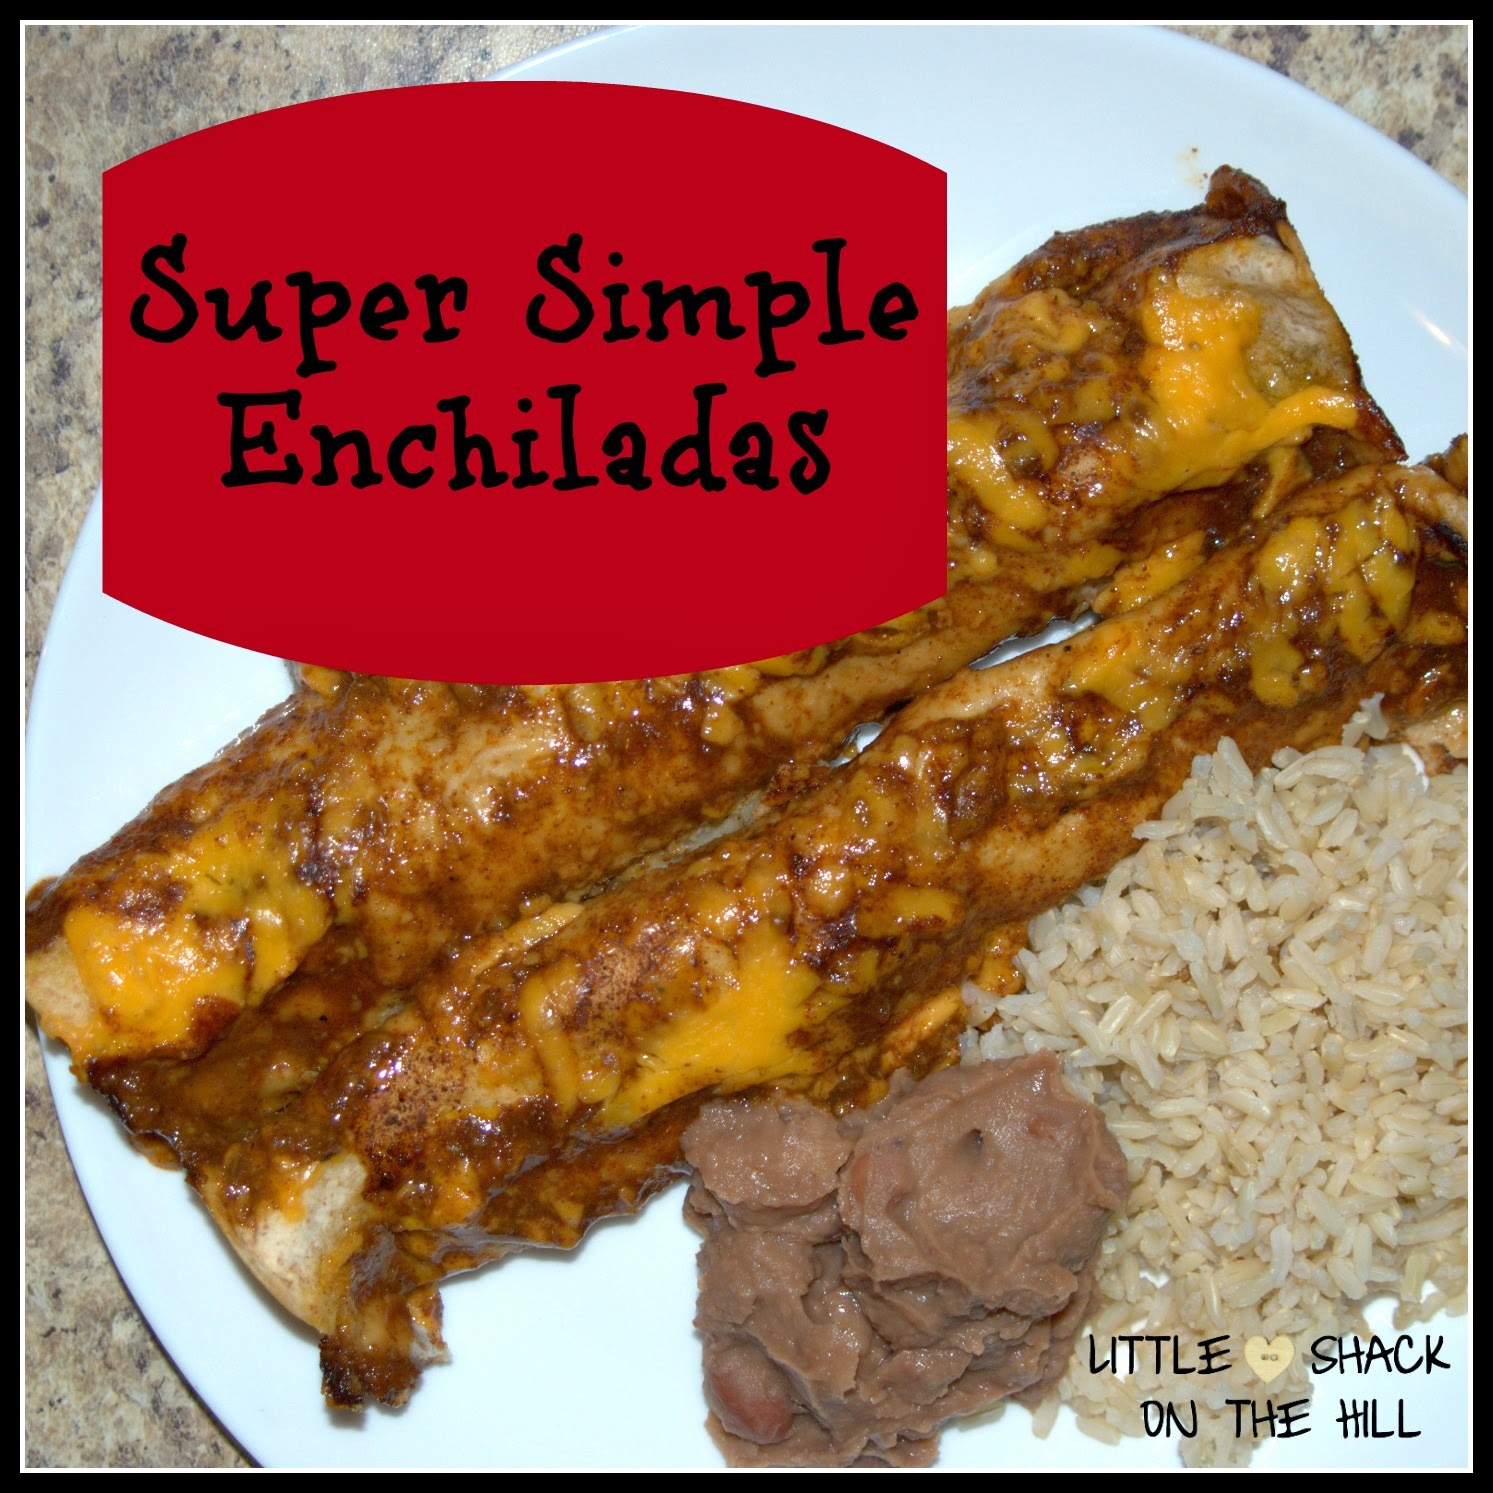
Time to put these puppies into the oven! 350 degrees F. for 20 minutes, until the cheese is melted and bubbly.


We like ours served with brown rice and refried beans, as well as salsa!


I don't really have a 'recipe' for these. It was all just kind of thrown together. I would suggest adding more taco seasoning if you like spicy, less if you don't. Add as much salsa and cheese as you like, depending on your taste. You can also make these using other meats like ground of any kind, pork, beef, turkey...just fry it up and then add the taco seasoning. 
It has become a family favourite and gets made at least once a week! What's your family's most asked for meal?

Monday, March 2, 2015

Make An Easy Decorative Bottle or Jar

Many years ago, my Granny used to make these really cool bottles covered with masking tape and then rubbed with shoe polish.


They were wonderful for putting flowers in, both dried and fresh.  Or on their own just as a decorative container.  I remembered these bottles and containers the other day while washing out an empty jar.  I decided to give it a try. I actually Googled it and discovered it was a craft that was created back in the 70's and was called a 'leather covered bottle'.  Now, back then, Google was unheard of and home computers were still years away. So, I have no idea where my Gran learned how to do this, but she was an extremely creative person.  She sewed Barbie clothes for my sister and I, pressed flowers and used them to make cards.  She worked as a volunteer with handicapped adults in a facility where they made all kinds of crafts to sell. She made beautiful leather appliquéd wall hangings and used twigs and felt to make little people sculptures.  She was such a wonderful Granny.
Now, I'm sharing with you her lovely bottle craft.
First, you need a container of some kind. It could be a bottle from pickles, wine or jam. Maybe a plastic peanut butter jar? Or any container you like!


Then, you need a roll of masking tape and some shoe polish. I chose a brown and a black polish.  That's it!
You can cut or tear the tape into pieces. I chose to tear as it gives a more varied look. All you do is tear the tape and stick it onto the container! You can do this while watching TV, it takes very little concentration.  Keep sticking the tape pieces onto the container, overlapping, going up and over the lip, on the bottom, all over. If your container has a label, just put it on thicker there. Vary the direction of the tape, and add where you think it needs more.


Once your container is completely covered, it is time to rub on the polish. Get a rag and start rubbing on the shoe polish. You can keep adding coats to make it darker. Once it is the colour you want,  give it a buff with a clean rag. The bottle on the left was done with a combination of brown and then back, while the one on the right is just black.


I added some jute string because I love it on everything!! You can added all kinds of embellishments to yours.
There you have it! I'd love to see and hear about your containers and how you used them.


I used just the brown polish on this wine bottle version.